PROCEDURAL WOOD MATERIAL | SUBSTANCE DESIGNER
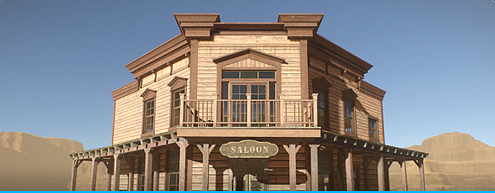
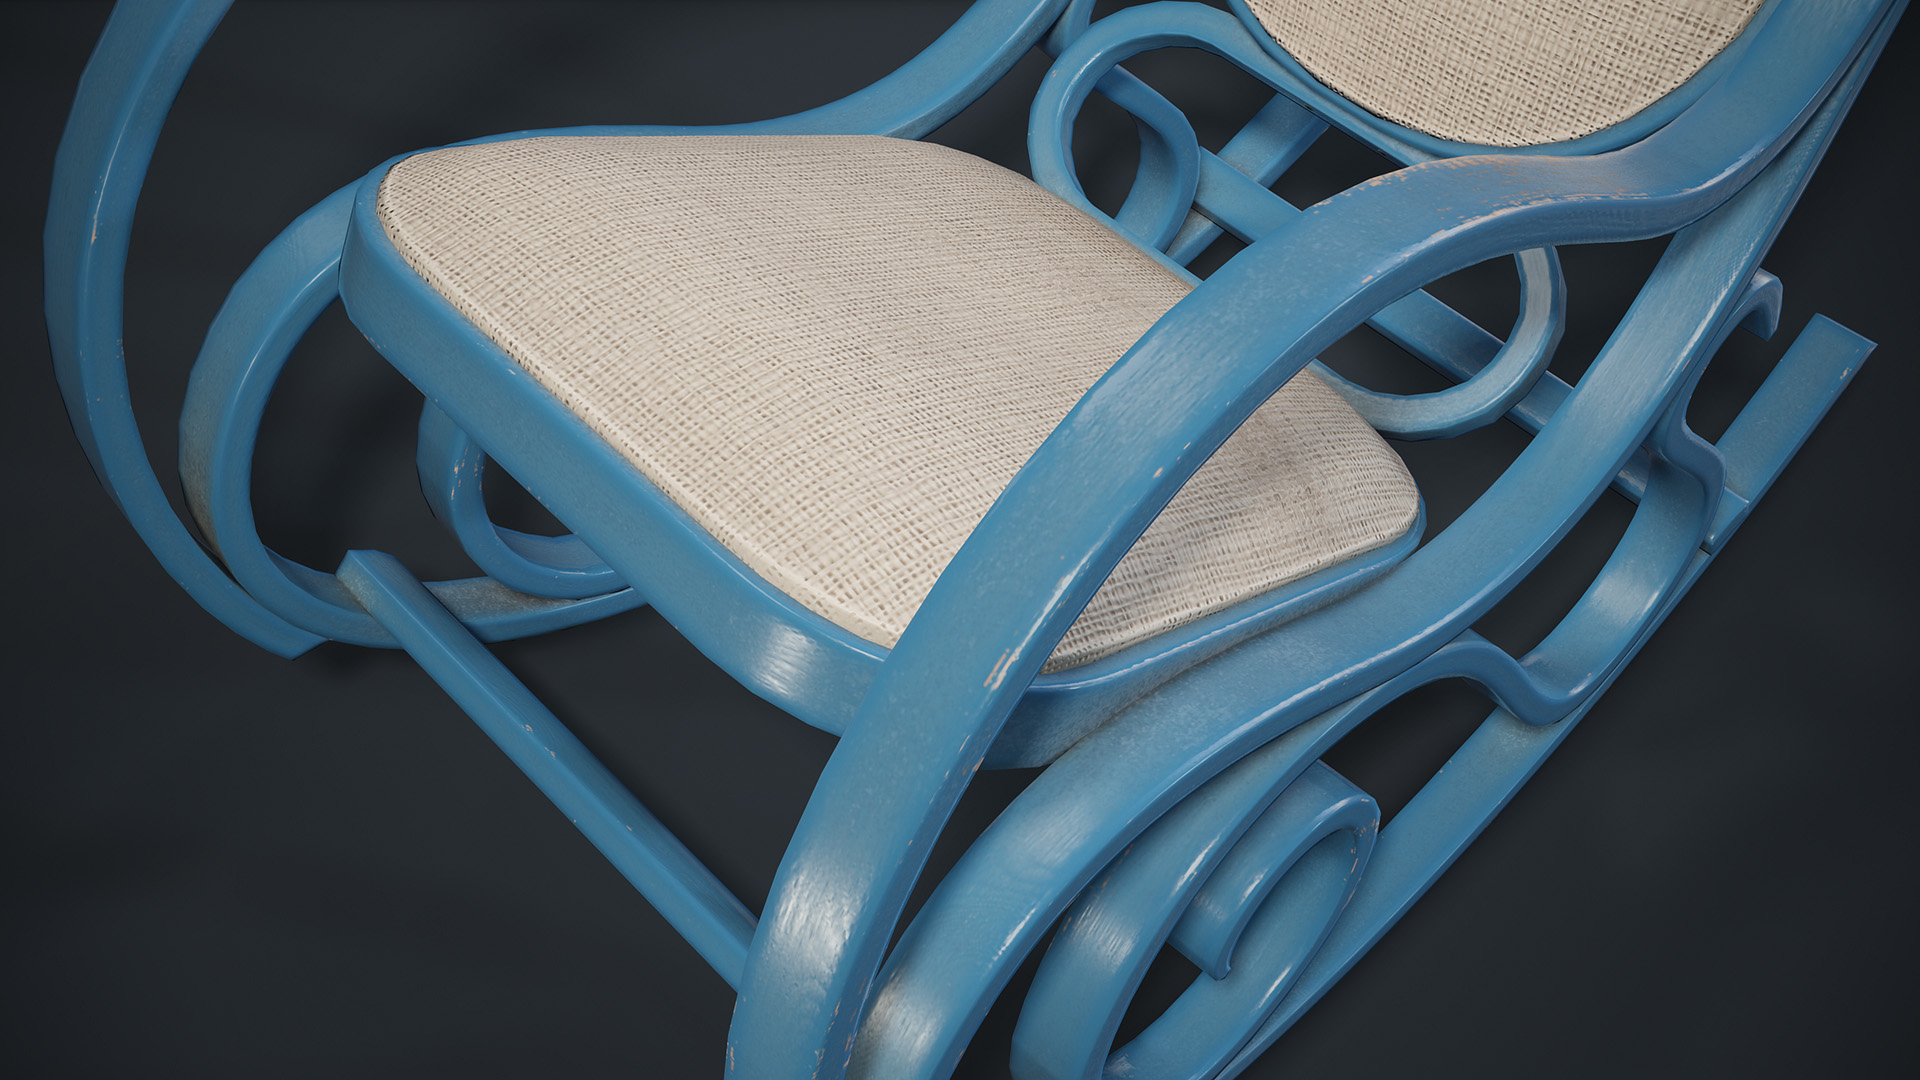
In this article you will learn, how my procedural wood material looks from inside. I use this material as a basis for texturing wooden surfaces in my 3D models. It is not a detailed step-by-step guide about material authoring in Substance Designer, but it's a brief overview of a node tree, that will help you to create your own procedural wood material and will serve you as a start point in this direction.So, let's take a look at what we will get at the end:
And now let's get started.
Here's how the whole node-graph looks like:
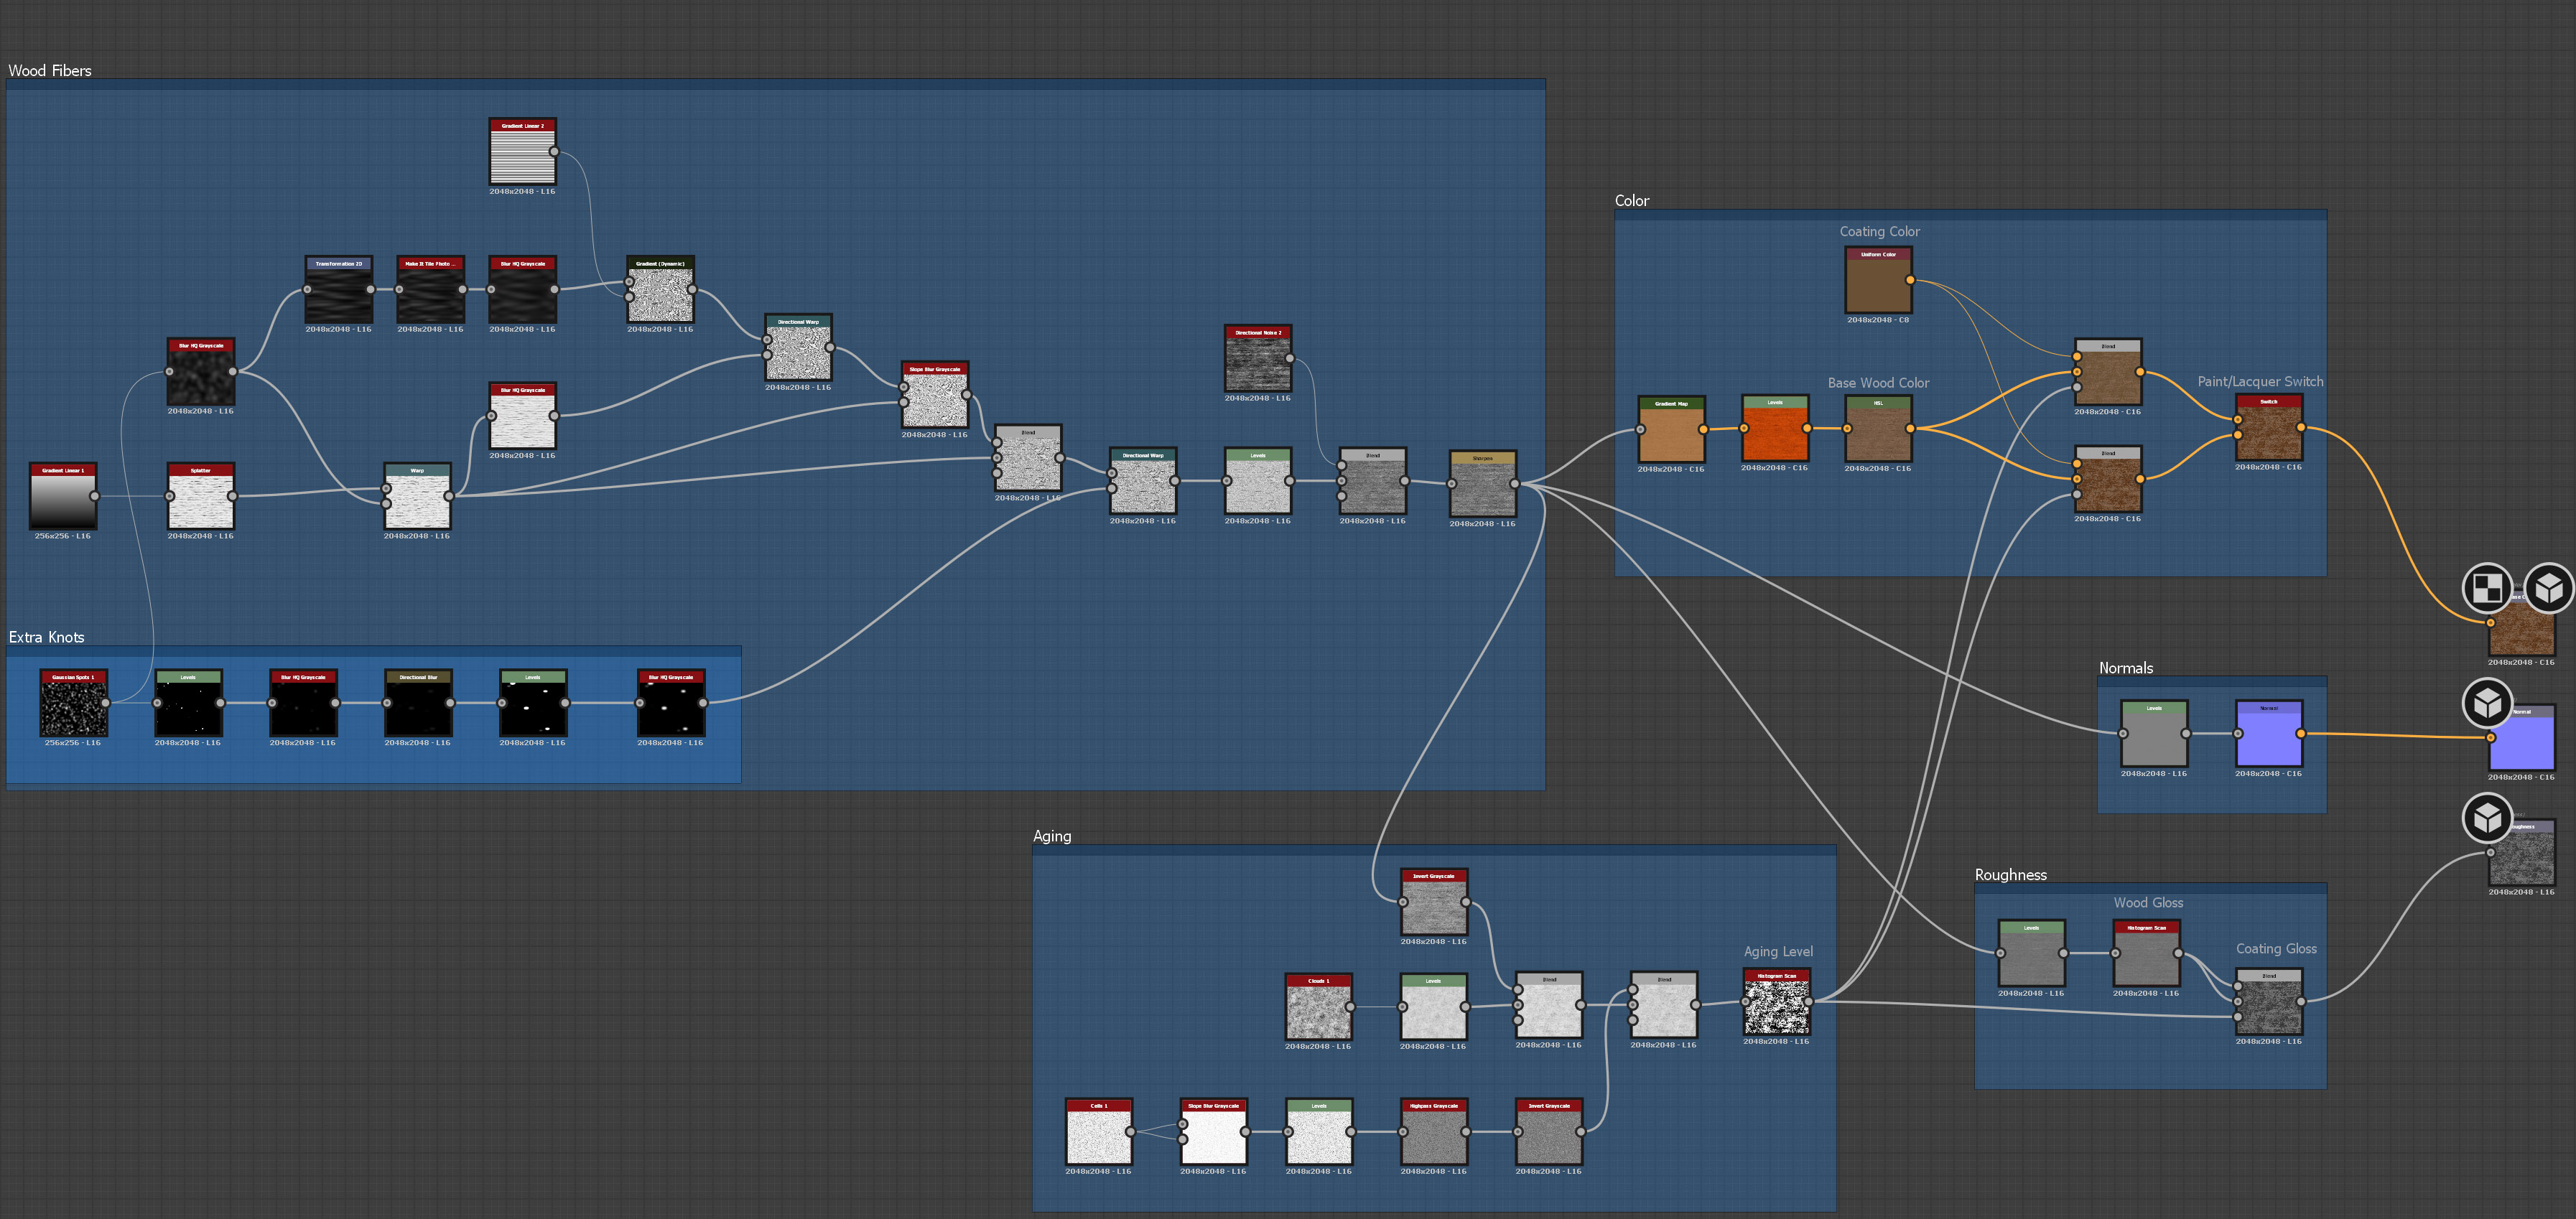
Not too complex and knotty, isn't it? It's because the material is very simple in overall and serve only as a basis for something more complex and detailed.
This material can be split on to 5 parts: wood fibers generation, aging mask creation, coloring, normals and roughness.
A wood fibers task
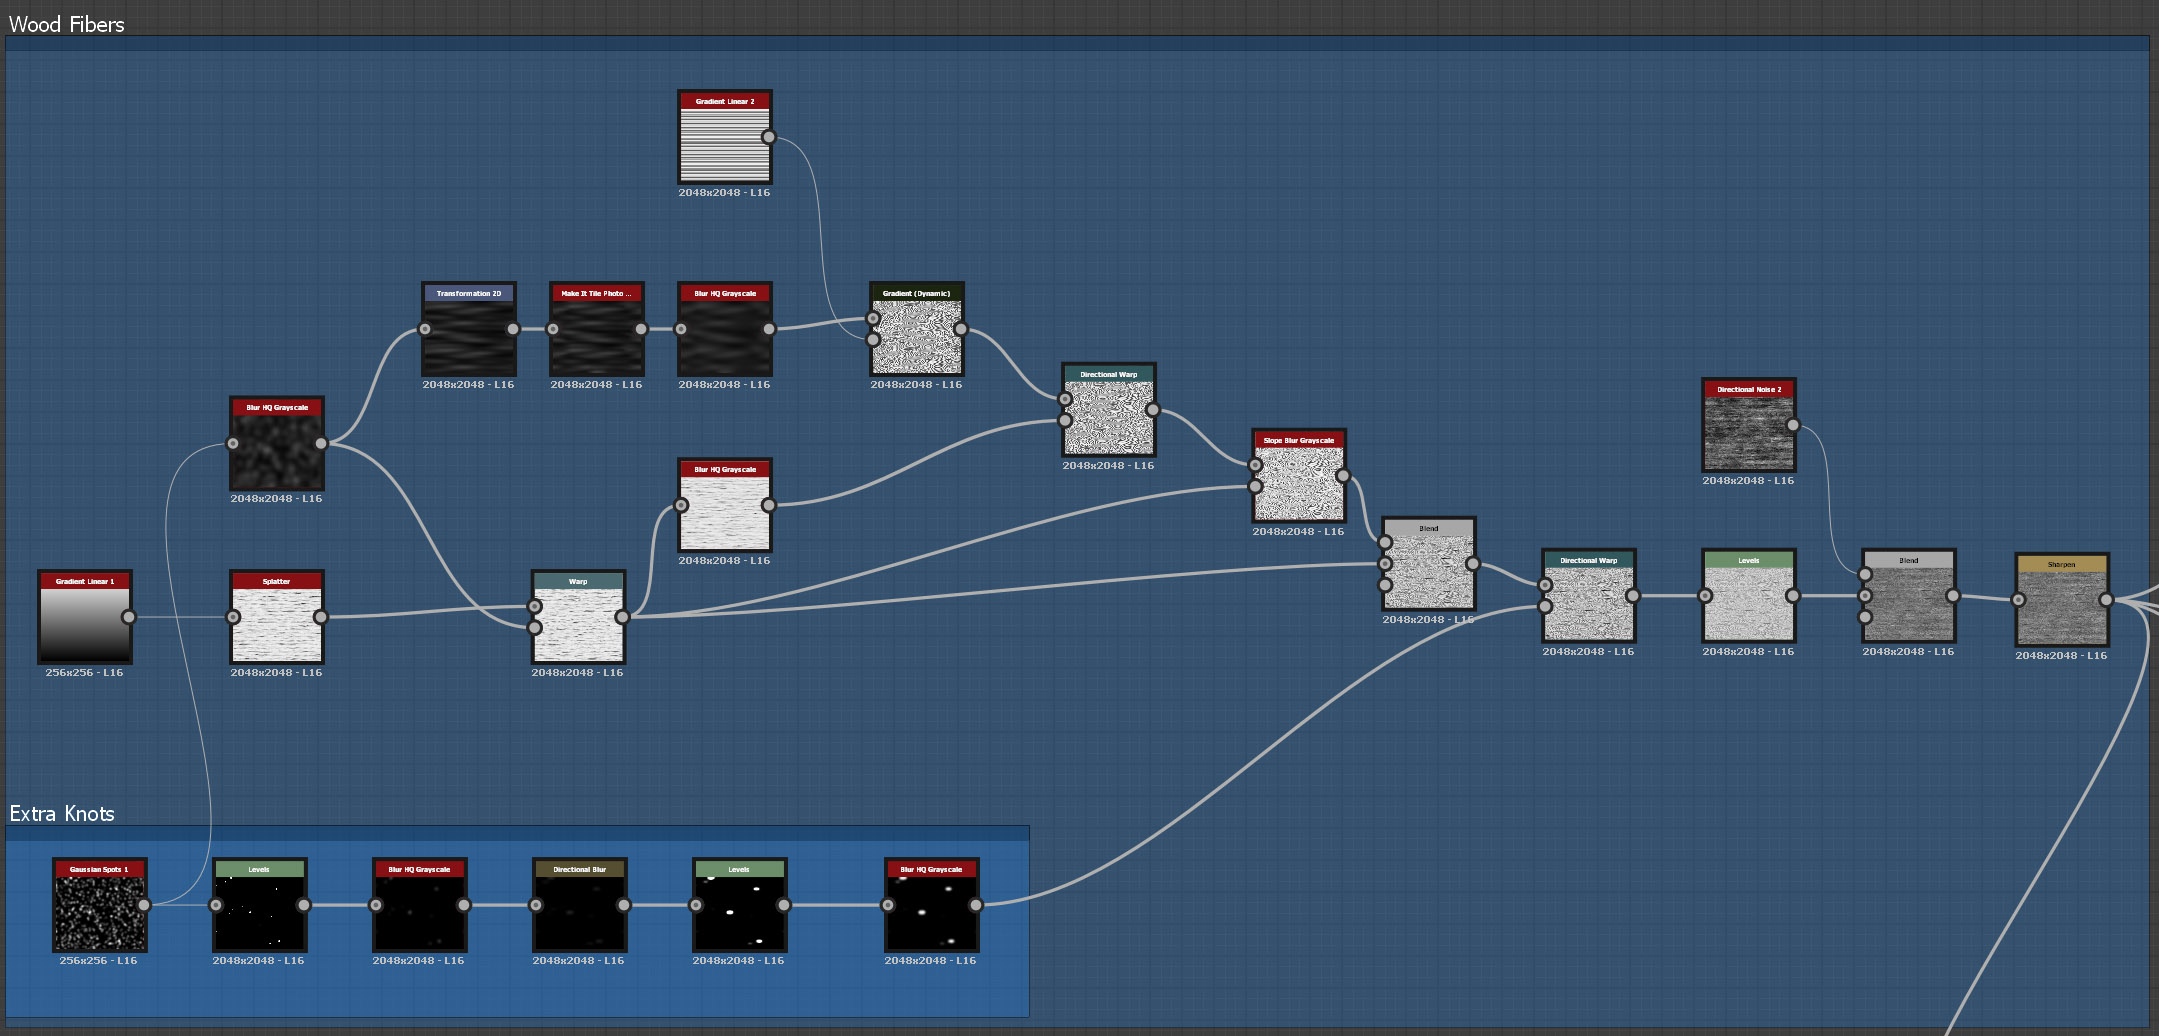
All this starts with very dense covering of a canvas by linear gradient with some little rotation random using the Splatter node. Next, the result distorts by a big soft noise when passing through the Warp node. It's a foundation for the wood. The next step is the most important: here you need to experiment with the Gradient (Dynamic) node, using a dense tiled linear gradient as a Gradient Input, to create a bending pattern of wood and blend it with the result of the previous step.
As soon as the result suits you, you can add some more expressed knot swirls by passing the fibers through the Directional Warp node, using a mask with some big soft spots on it as the Intensity Input. Here you can finish with this part, only one more thing you can add - blend the result with the Directional Noise for some extra details.
An aging effect mask
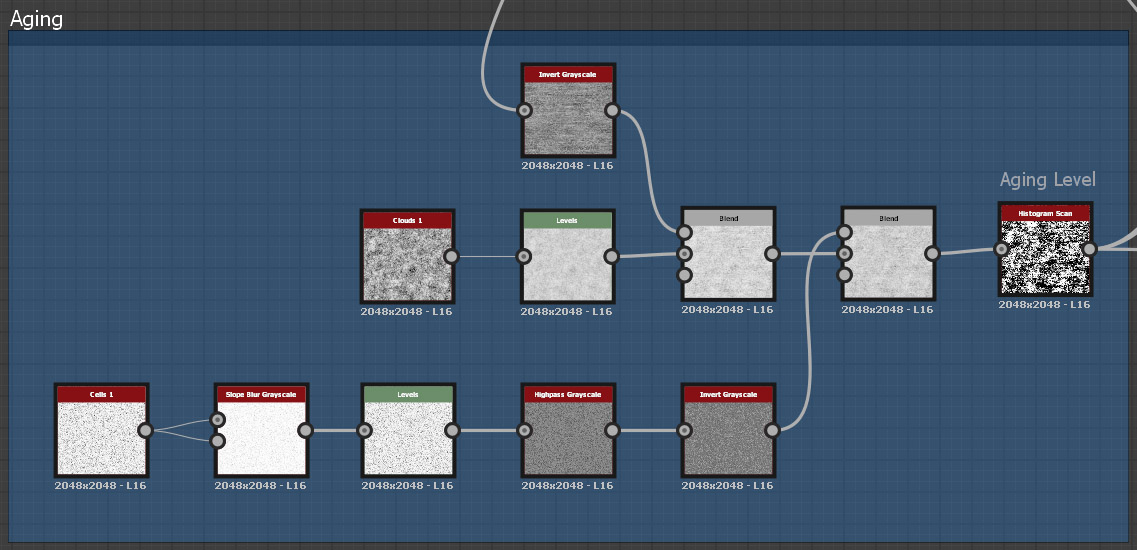
In this part we take the wood fibers created earlier and blend them with a noise, cracks, scratches etc.. The most important thing here is to chose a suitable noise and/or transform it to a needed "peeling/worn" mask of the future coating. Second important thing - you have to balance between the fibers and the noise, when you blend them together, to get enough fibers and noise at the final aging mask.
And the last step in this part is the Histogram Scan node, which helps to easily control a wear effect. If you pass generated mask through this node, set the Contrast property close to maximum, you will get perfect result. And finally, simply changing the Position property, you will change a wear level of the surface.
Colors and coating type selection
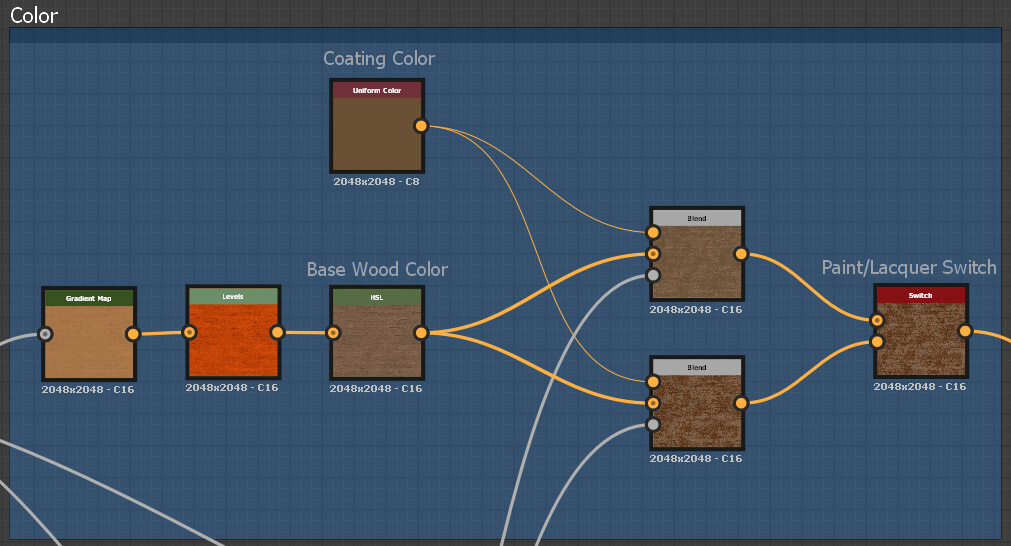
This part is extremely simple: connect all the same fibers to the Gradient Map node, open the gradient editor, click the Pick Gradient button and and take gradient keys from any image. Of course, it's better to use a reference image with wood surface on it in needed color palette. Next, adjust the result to your taste using the Levels and HSL nodes and make a branching onto two Blend nodes. You can connect the same Uniform Color node to the both Blend nodes, but chose different blending modes: Copy - for the first (this will be opaque paint), and Overlay or Softlight for the second once (this will be a semi-transparent lacquer with more contrast and saturation), and use the aging mask from the previous part as the Opacity for these two Blend nodes. The last step here will be the Switch node, which allows you to swap between coating types.
Normals and roughness

This part the most simple. You only need to pass the fibers texture, created at the first part, through the Normal node. And for the roughness map - adjust the lightness and contrast of the fiber texture and blend them together in Multiply mode, using the aging mask as the Opacity input.
That's all. The wood material is ready now.
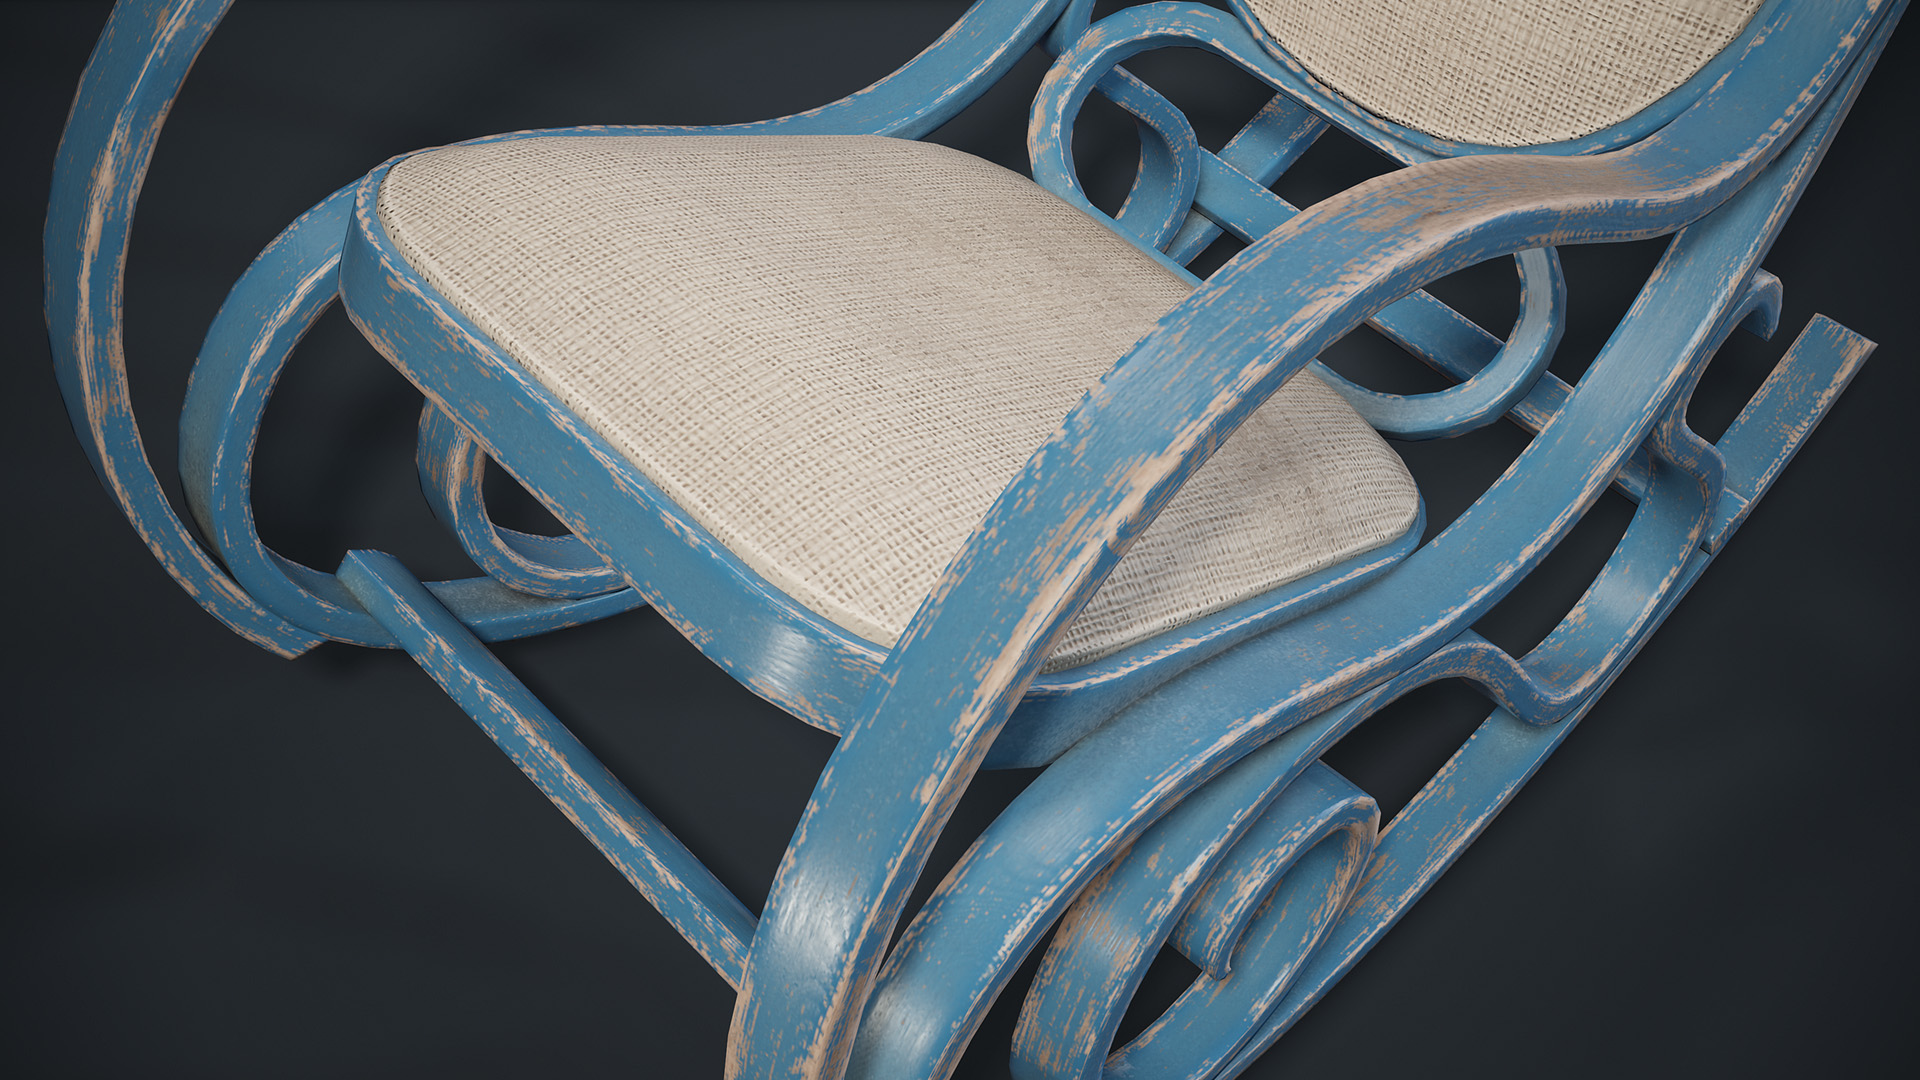
Bellow you can see an example, how it looks on a 3D-model (drag the slider with your mouse):
 Feel free to write your thoughts and ask questions in comments bellow :)