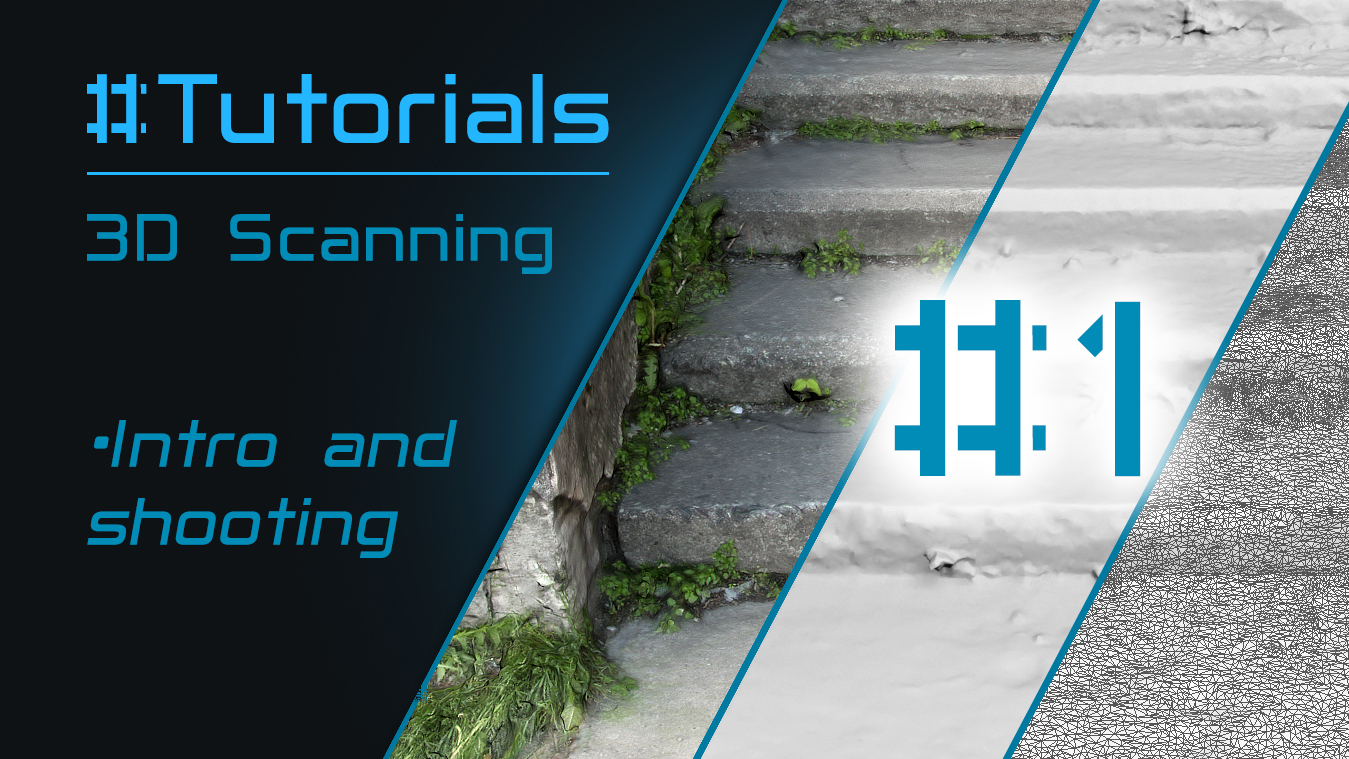
3D SCANNING | INTRODUCTION & SHOOTING
In this series of my tutorials I’m going to share with you some of my experience using one of the most amazing techniques — 3d-scanning or photogrammetry.
This tutorial is for beginners and is going to consist of 3 episodes:
1. Preparing and shooting (this tutorial).
2. Building up the point cloud from the photographs.
3. Retopology of the model we scanned and preparation for importing it in to a game engine.
To shoot the object we need only one of the next devices: DSLR cam, P-n-S camera, or at least your smartphone.

Additionally, to take a high angled shot of your objects you’ll need a monopod and camera remote controller.
It’s better to take shots in an overcast day or in specially outfitted studio.

It’s highly recommended, that the object should be as opaque and non-transparent as possible. Otherwise, you can cover an object with talc powder to make it opaque. Unfortunately, in that case we would only get the shape of an object while producing a useless texture.

The size of an object shouldn’t be too small. You should also keep in mind, that small details can make unwanted noise.
You should also take shots in manual mode, as the values of ISO, white balance and f-stop should all be fixed.

It’s also important that the shot shouldn’t have overexposed or underexposed areas.

You should take a shot in such a way, that the adjacent frames overlap at least 30%.

For this tutorial, I chose this reinforced concrete stoop.

It’s better to shoot with a wide-angle lens, as it’s important to get the maximum depth of field in each shot. Out of focus pixels will not be useful to the photogrammetry algorithms.

The more shots of an objects you take – the better. You can always delete an unwanted shot. It’s more difficult to return to get additional shots.
24 shots was enough for this model.

Well, this is the end of the first episode of this tutorial.
Subscribe to my newsletter, if you don’t want to miss the next episodes, in which you’ll learn how to create a high-poly model from the photographs, create a useful topology and prepare this model for use in a game engine.
Next part>
This tutorial is for beginners and is going to consist of 3 episodes:
1. Preparing and shooting (this tutorial).
2. Building up the point cloud from the photographs.
3. Retopology of the model we scanned and preparation for importing it in to a game engine.
To shoot the object we need only one of the next devices: DSLR cam, P-n-S camera, or at least your smartphone.
Additionally, to take a high angled shot of your objects you’ll need a monopod and camera remote controller.
It’s better to take shots in an overcast day or in specially outfitted studio.
It’s highly recommended, that the object should be as opaque and non-transparent as possible. Otherwise, you can cover an object with talc powder to make it opaque. Unfortunately, in that case we would only get the shape of an object while producing a useless texture.
The size of an object shouldn’t be too small. You should also keep in mind, that small details can make unwanted noise.
You should also take shots in manual mode, as the values of ISO, white balance and f-stop should all be fixed.
It’s also important that the shot shouldn’t have overexposed or underexposed areas.
You should take a shot in such a way, that the adjacent frames overlap at least 30%.
For this tutorial, I chose this reinforced concrete stoop.
It’s better to shoot with a wide-angle lens, as it’s important to get the maximum depth of field in each shot. Out of focus pixels will not be useful to the photogrammetry algorithms.
The more shots of an objects you take – the better. You can always delete an unwanted shot. It’s more difficult to return to get additional shots.
24 shots was enough for this model.
Well, this is the end of the first episode of this tutorial.
Subscribe to my newsletter, if you don’t want to miss the next episodes, in which you’ll learn how to create a high-poly model from the photographs, create a useful topology and prepare this model for use in a game engine.
Next part>